Export Your IaC
Hashicorp configuration language (HCL) is the default format for Infrastructure as Code (IaC) exports, making it easier to maintain consistency, streamline your CI/CD workflows, and support reusability. You’ll see HCL pre-selected in the following scenarios:
- Exporting and deploying built-in resources for AWS, GCP, and Azure.
- Exporting and deploying custom modules.
- Creating
tfvarswith complex types such aslist(map(string))andlist(string). - Pushing IaC exports to GitHub.
If you are an existing customer and would prefer maintaining your .json file format, please email us at support@stackgen.com, and we can change your preferences from the new default HCL to the previous default JSON.
When you're ready to deploy your infrastructure, StackGen offers two methods for exporting your Infrastructure as Code (IaC) to streamline your workflow. You can either download your IaC in a .zip file or push it directly to a Git repository.
You can export your IaC in following ways:

Push to Git
Ideal for projects leveraging CI/CD to automatically deploy infrastructure changes.
Configure Git Repositories for IfC
To use the Push to Git option, your Git repository must be properly configured. Follow these steps to configure your Git provider in StackGen:
- Create or Select a Repository: Ensure the repository exists in GitHub, GitLab, Bitbucket, or other Git providers.
- Set up Branches: Select or create a dedicated branch for IaC management.
- Configure Authentication:
- Use Personal Access Tokens (PATs) for secure API authentication.
- Set up SSH keys for repository access.
- Use OAuth authentication for organization-managed repositories.
- Monitor Commits: Track changes using Git’s version control, ensuring a traceable history of infrastructure modifications.
Push to Git
This streamlined approach helps you efficiently configure, export, and manage their IaC for smooth infrastructure deployment.
This method enables direct integration with Git, allowing you to automate deployments through CI/CD pipelines.
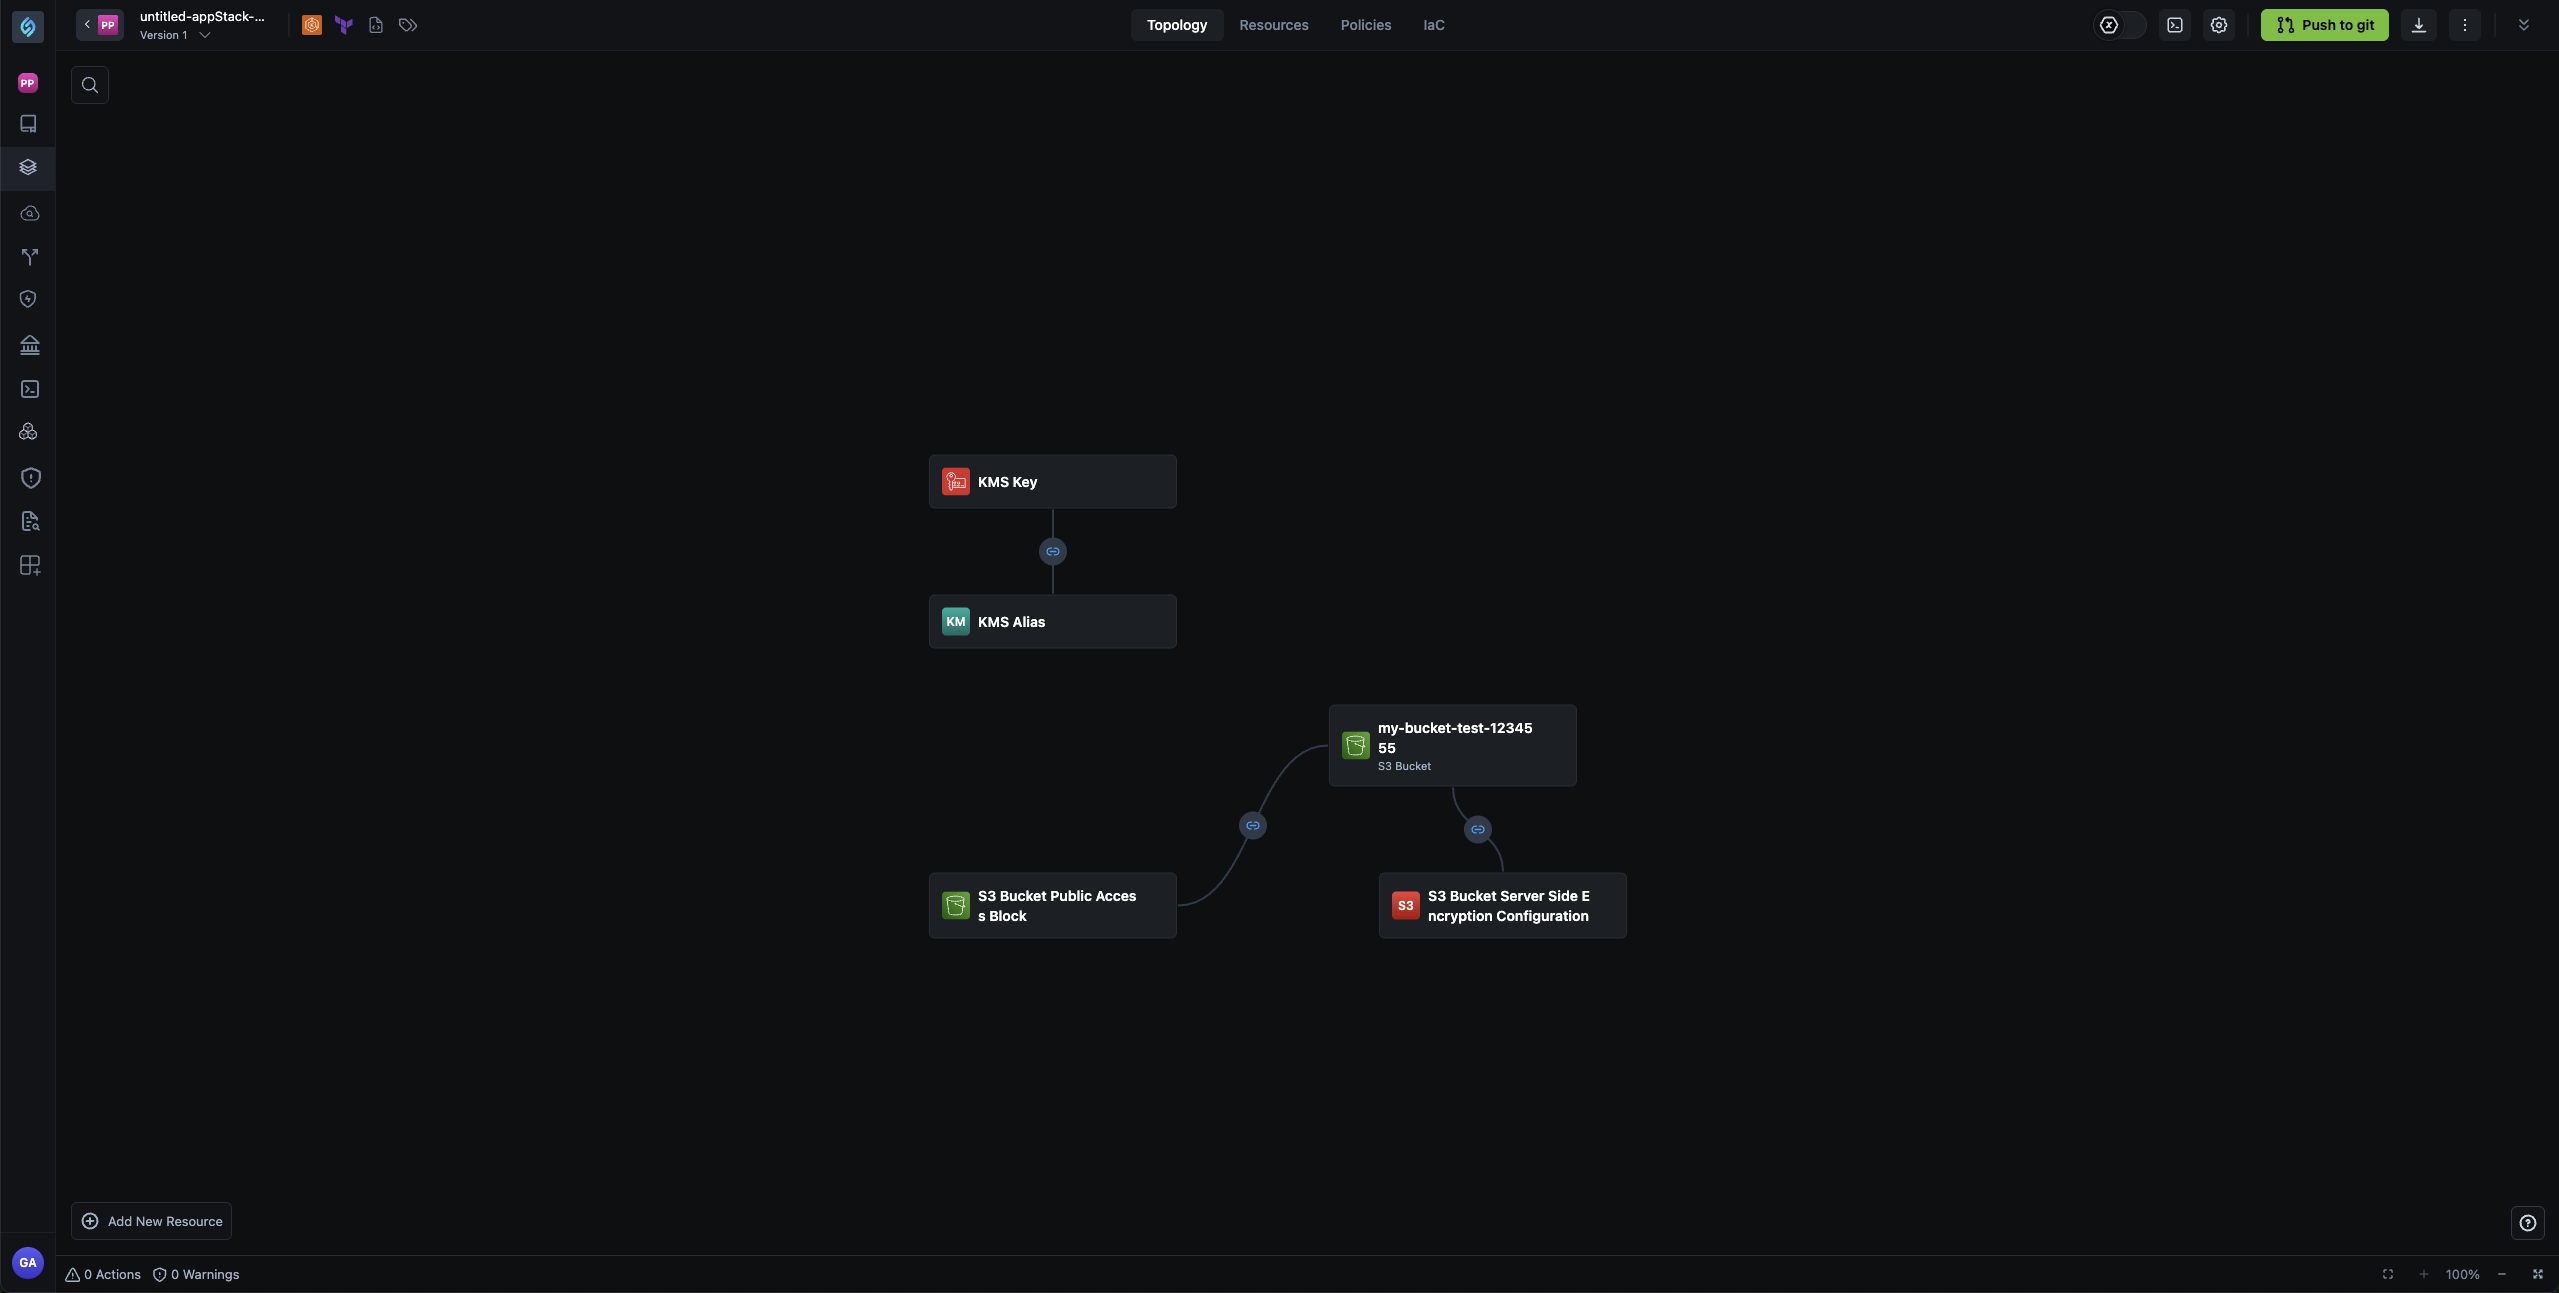
- In the Topology Canvas, click Push to Git.
- Enter the Git repository URL and configure the branch.
- Click Push to Git to export the IaC.
Download IaC (.zip)
This method is ideal for local deployments or when you need to inspect the generated IaC before pushing it to a version control system.
This method allows you to download the generated IaC for manual deployment.
- In the Topology Canvas, click the Download IaC (.zip) ↓ icon.
- Unzip the file to access your Terraform configuration files.
- Deploy the infrastructure manually using your preferred cloud provider’s CLI or UI.
Download Topology (.json)
Use this method to download your topology as a .json file for easy sharing. Your teams can import the file into StackGen to review, collaborate, or reuse the same topology.
-
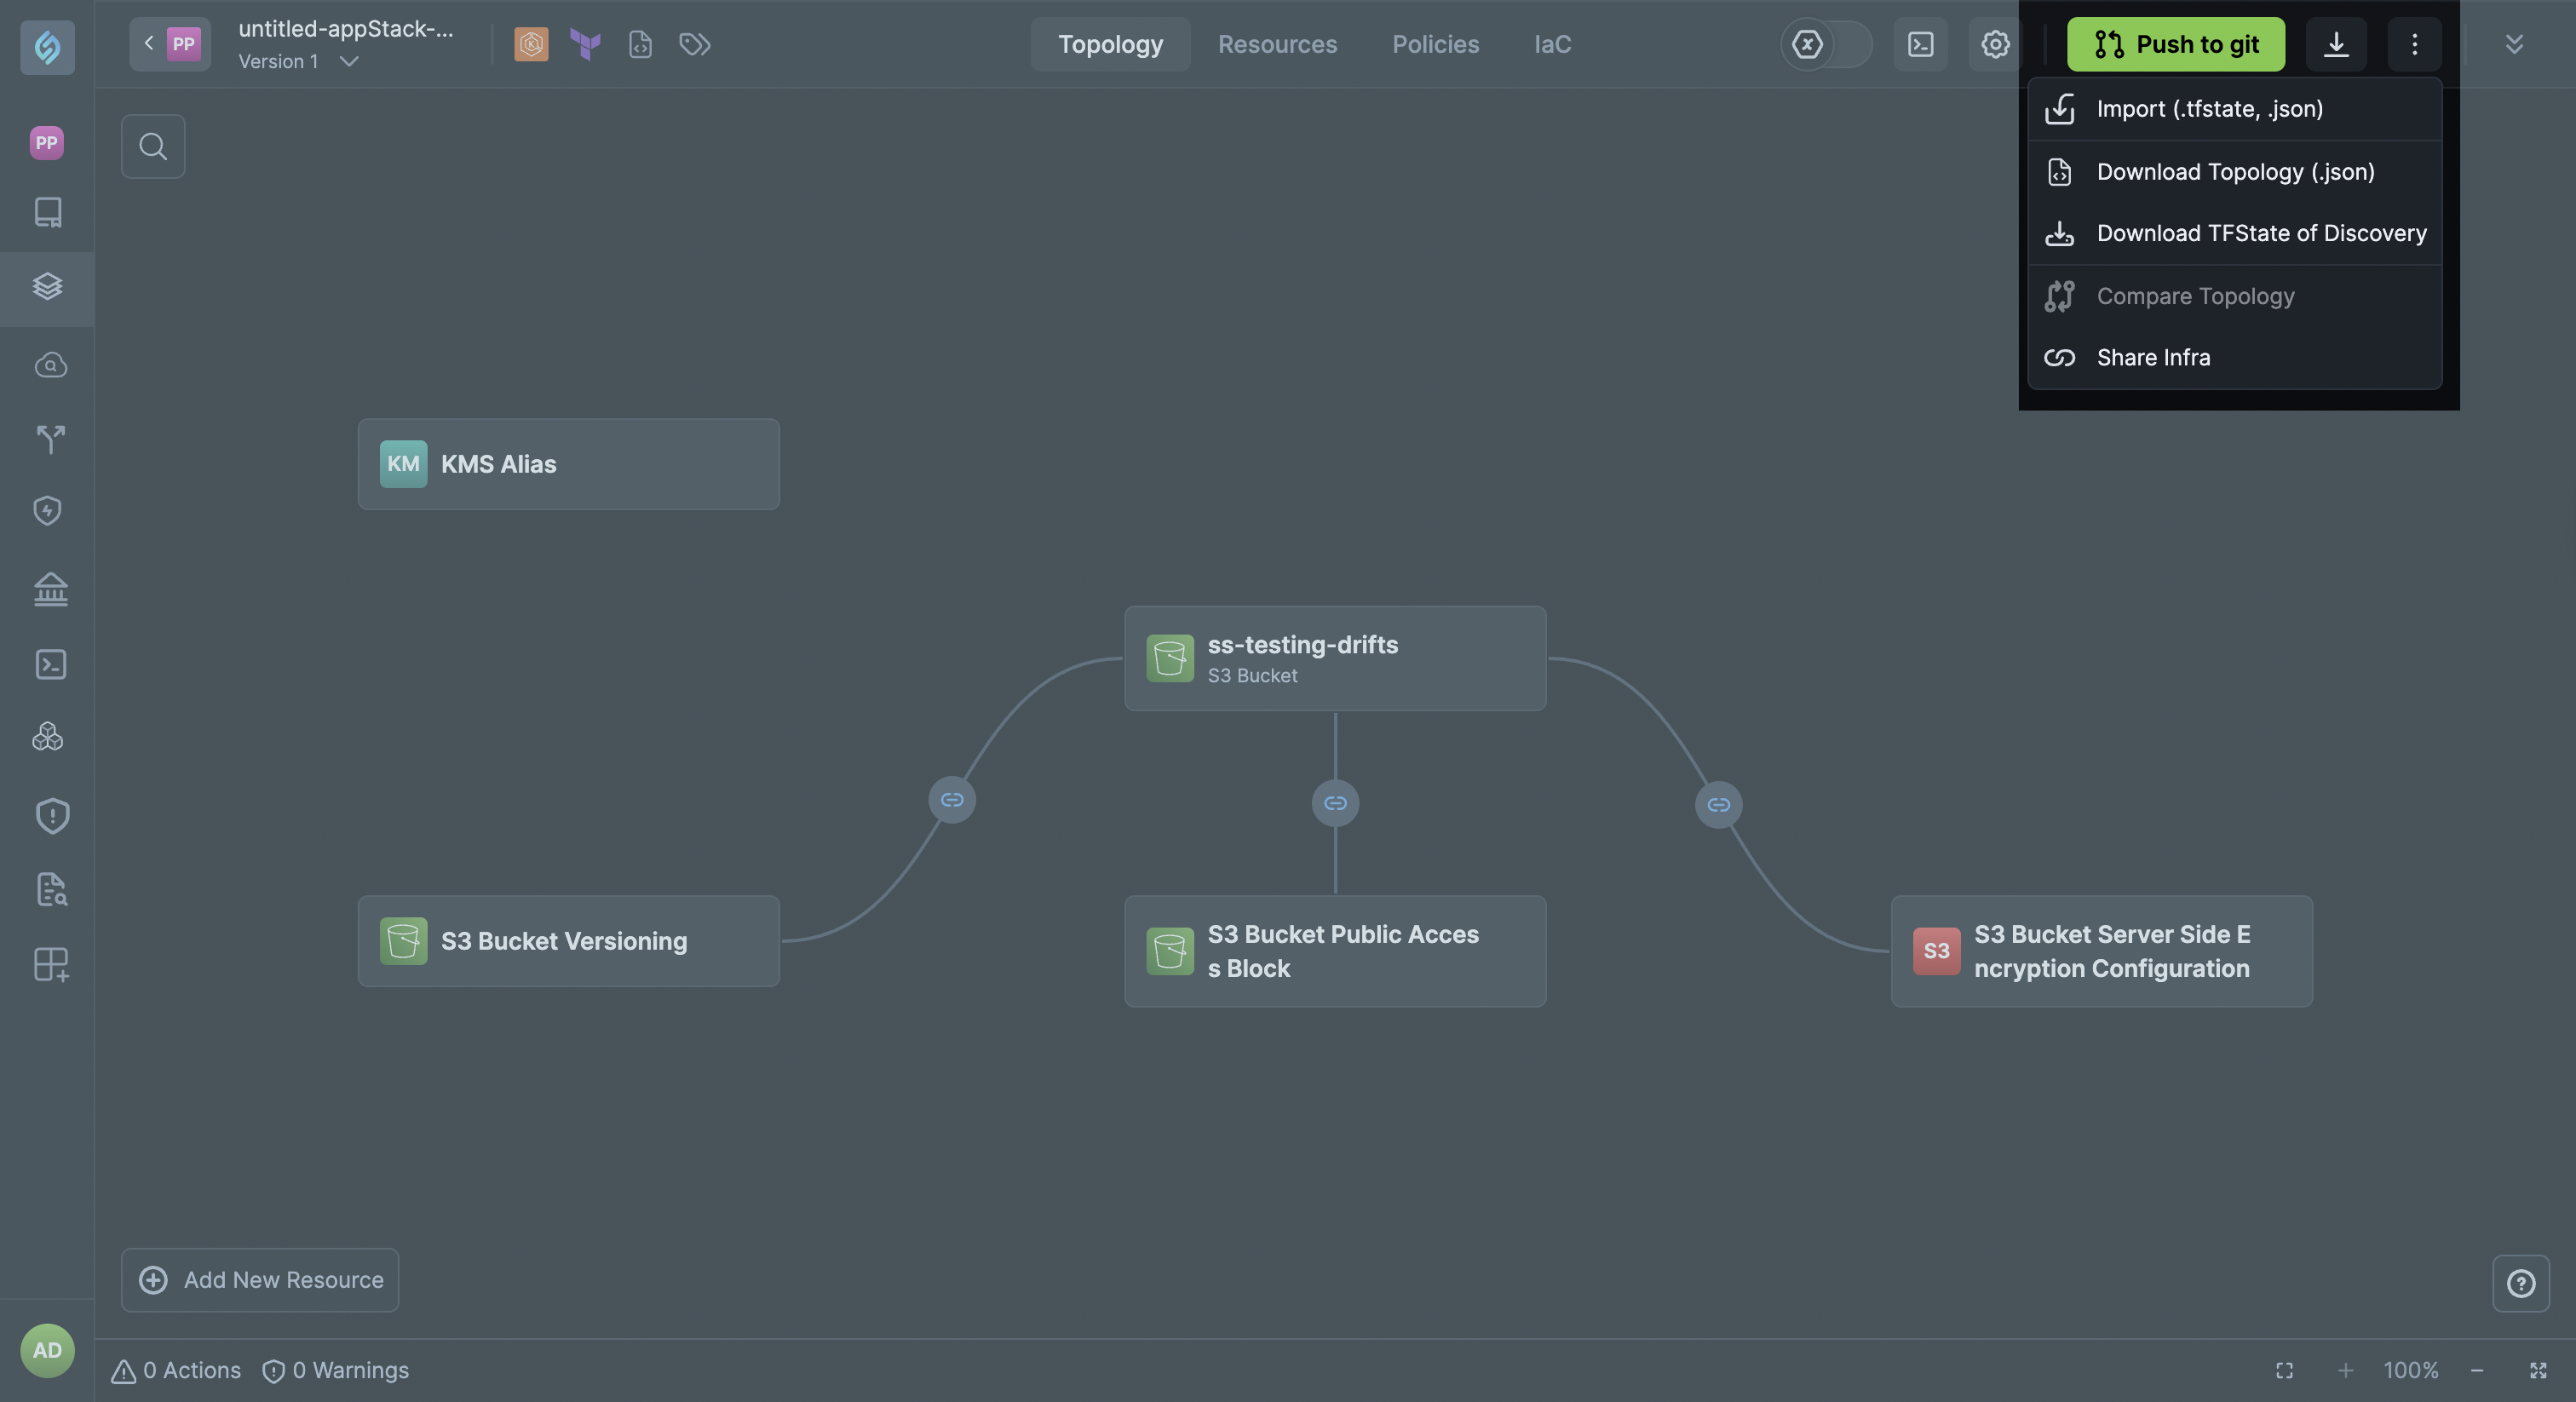
In the Topology Canvas, click the ellipsis ⋮ icon.
-
Select Download Topology (.json). This will export your topology in
JSONformat.You can use it to:
- Automate checks or generate custom reports.
- Store snapshots for backup or version control.
- Import into other tools for visualization or analysis.
- Inspect raw resource details not shown in the UI.
Download TFState of Discovery
Use this method to download your IaC along with the cloud metadata from your original .tfstate file, and reuse it to provision and deploy infrastructure consistently. Check out Carve-out appStacks from .tfstate import
- In the Topology Canvas, click the ellipsis ⋮ icon.
- Select Download TFState of Discovery. This will export your topology in
JSONformat.
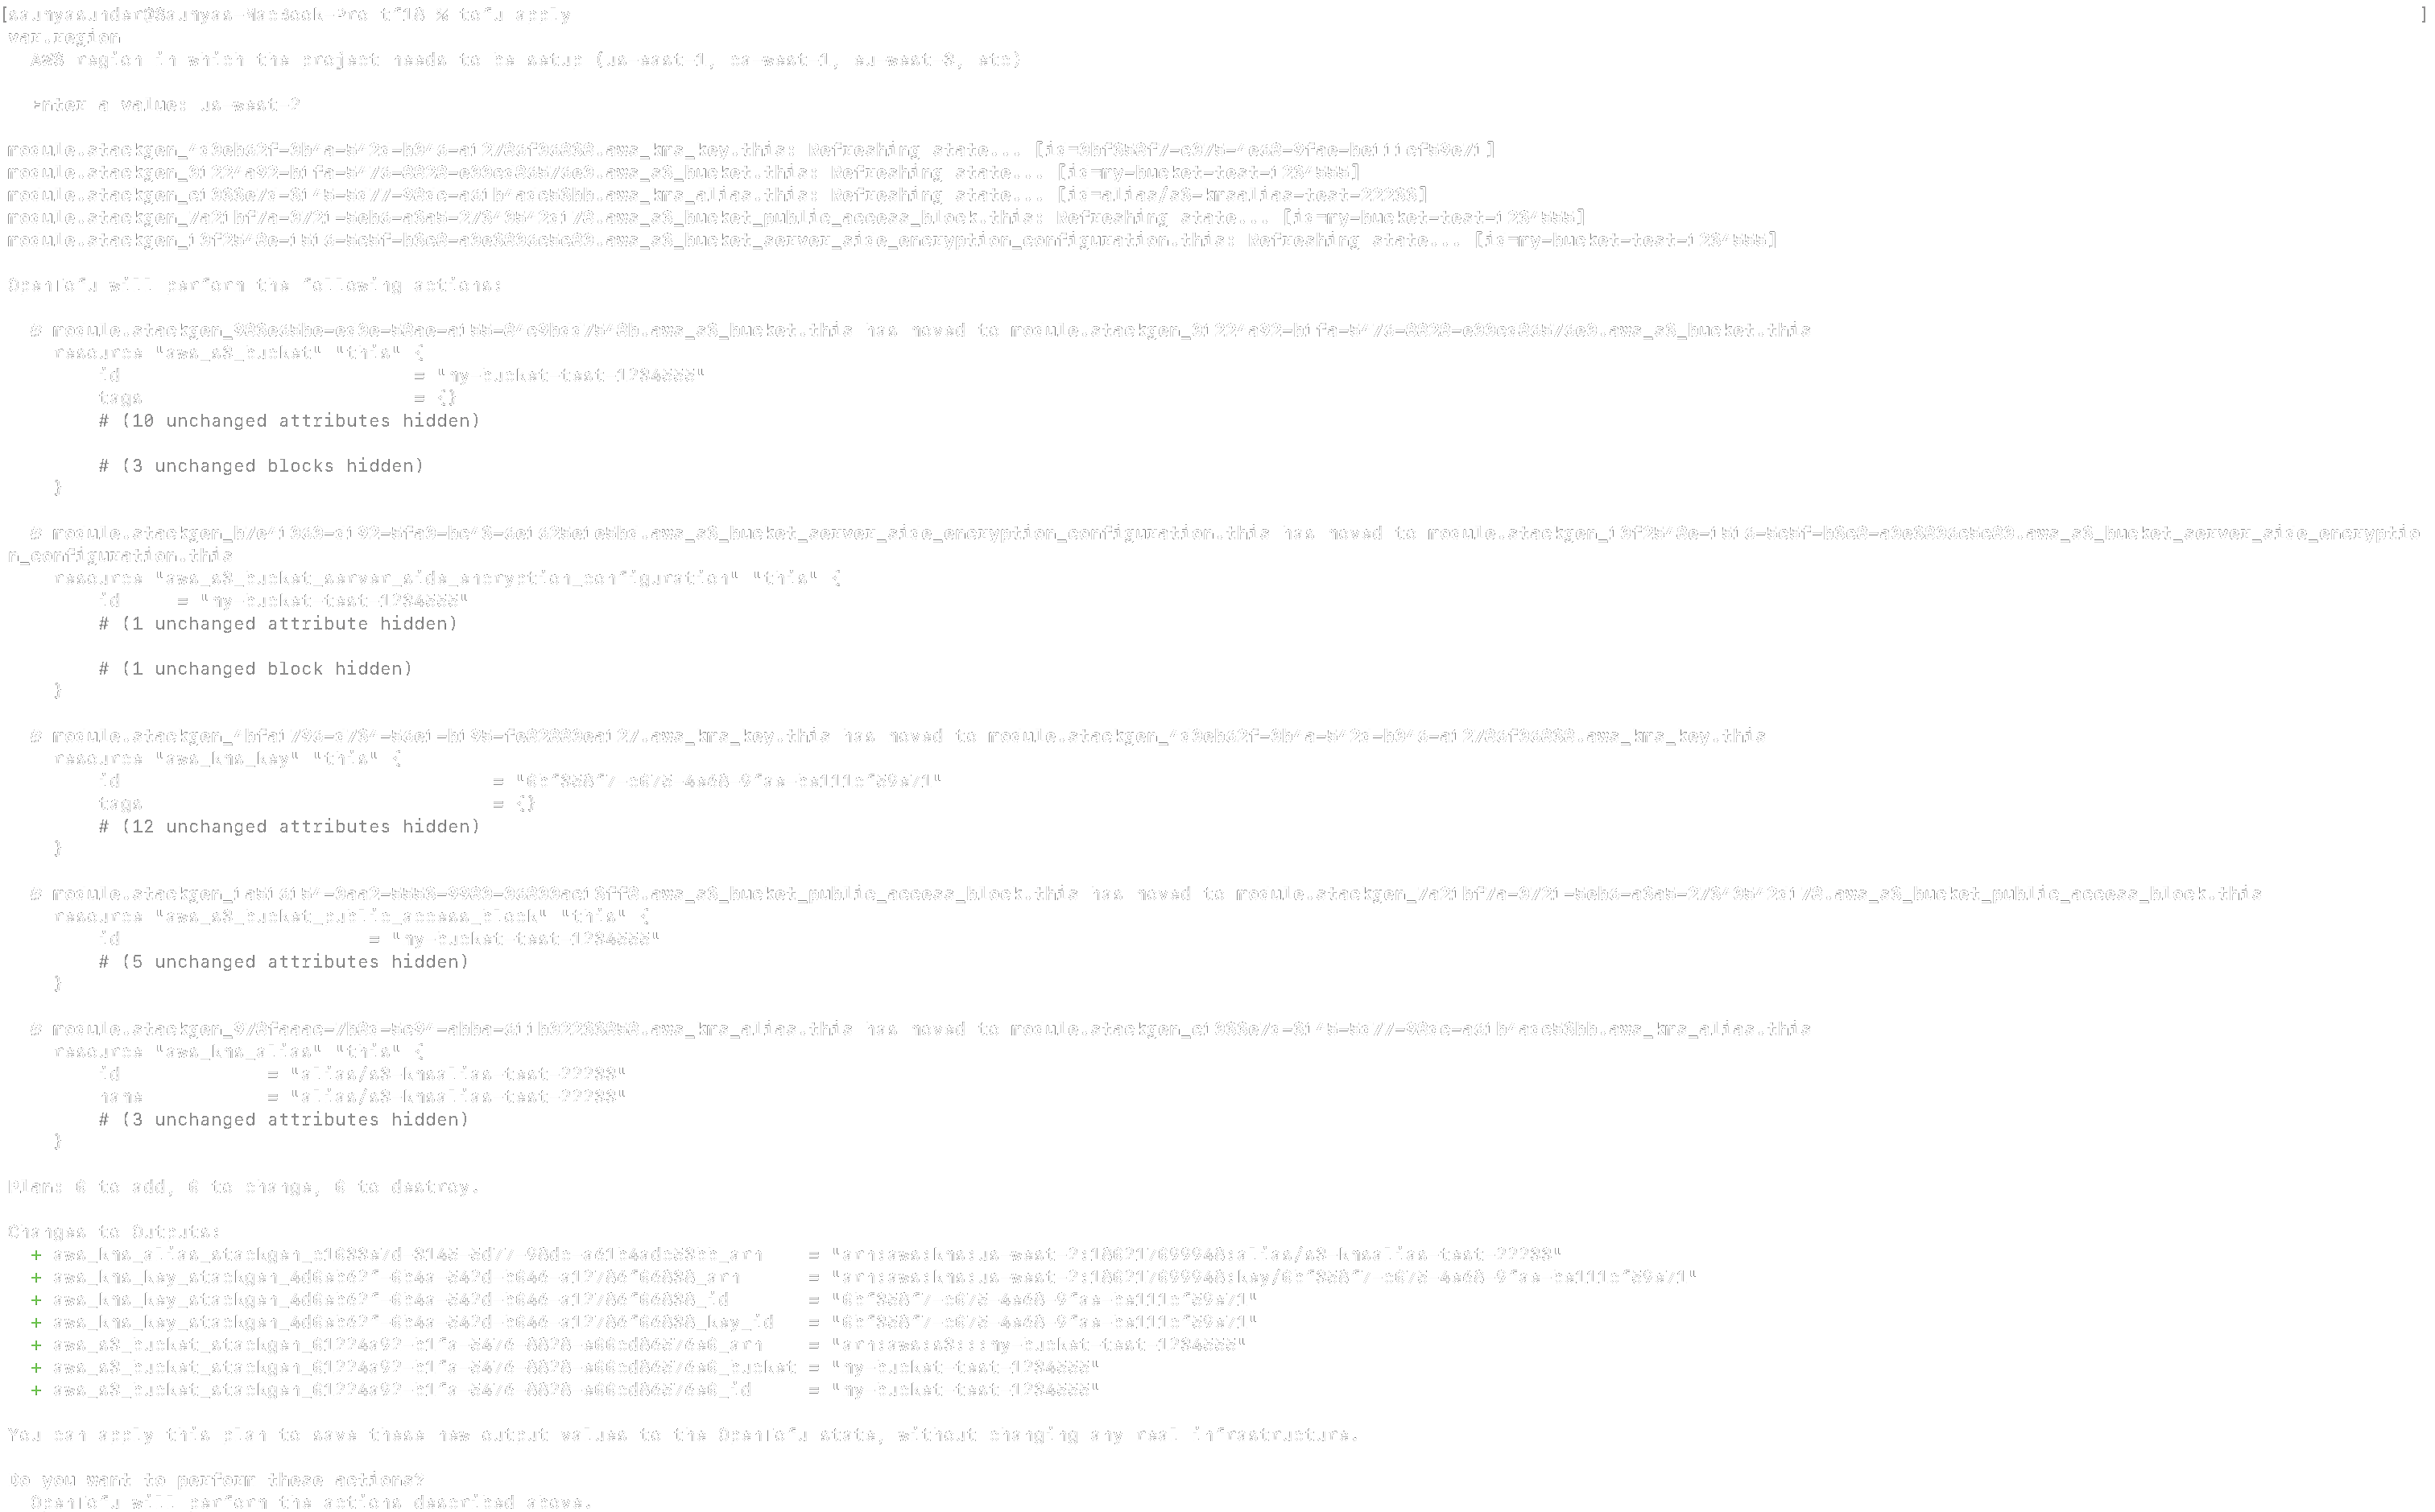
You can run terraform plan or tofu plan to validate and provision your IaC and deploy the same using terraform apply or tofu apply.

